
Introduction
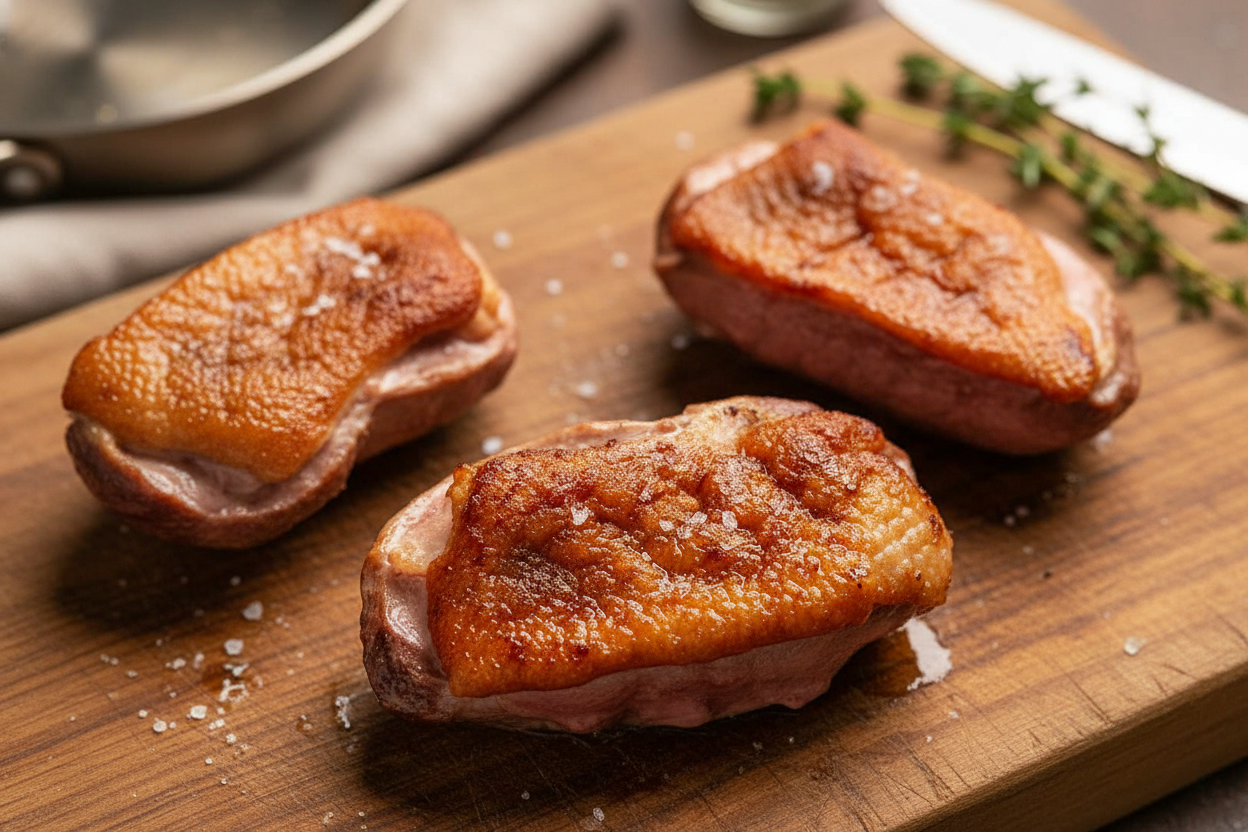
Crispy skin duck has become a coveted dish in many culinary traditions, known for its rich flavor and textural contrast. This recipe focuses on preparing a succulent duck breast with perfectly crispy skin, ensuring a delightful dining experience. The method is straightforward, making it accessible for both novice cooks and seasoned chefs.
Detailed Ingredients with measures
Duck breast, boneless, skin on
1 duck breast
Cooking salt / kosher salt
1/8 tsp
White pepper
Pinch (substitute finely ground black pepper if needed)
Prep Time
10 minutes
Cook Time, Total Time, Yield
Cook Time: 18 minutes
Total Time: 28 minutes
Yield: Serves 1-2
To prepare the duck, begin by preheating your oven to 180°C (350°F), or 160°C for fan-forced ovens. Score the skin of the duck breast carefully, ensuring to only cut through the skin and fat without piercing the meat itself. This technique helps render the fat effectively, leading to a crispier skin. After patting the skin dry, season with salt and pepper.
Next, place the duck skin side down in a cold oven-proof pan without any oil. A second pan can be used atop the duck to keep the skin flat during cooking. Transition the stove to medium-low heat and cook for 10 minutes, allowing the skin to become golden and crispy as the fat renders.
Once the skin is crisp, turn the duck to its flesh side for just one minute and then place the pan into the preheated oven. Cook for an additional 6 to 8 minutes, depending on your preferred level of doneness, and allow it to rest for 5 minutes before slicing or serving whole. This method ensures a duck breast that is juicy, tender, and full of flavor with the excitement of a beautifully crisp skin.
Detailed Directions and Instructions
Preheat the Oven
Preheat the oven to 180°C/350°F (160°C fan-forced).
Score the Duck Breast
Sprinkle half of the salt and white pepper on the flesh side of the duck breast. Turn the breast over and, using a sharp knife, make 5 or 6 diagonal scores on the skin side. Ensure not to pierce the flesh or cut all the way to the edge of the skin. Pat the skin dry with paper towels and sprinkle with the remaining salt and pepper.
Prepare the Pan
Do not turn on the stove yet. Take an oven-proof pan of any type and place the duck breast skin side down in the cold pan, without any oil. To keep the skin flat, place another pan on top of the duck to lightly weigh it down.
Cook the Duck
Turn the stove onto medium low and cook the duck for 10 minutes, or until the skin turns golden and crispy. During this time, the fat will render out from the duck skin, cooking it in its own fat.
Transfer to Oven
Once the skin is crispy, turn the duck over and cook the flesh side for 1 minute. Then, carefully transfer the pan to the preheated oven and cook for an additional 6 minutes for medium rare (internal temperature 54°C/130°F) or 8 minutes for medium (internal temperature 60°C/140°F).
Rest the Duck
After cooking, transfer the duck breast to a rack or a plate and let it rest for 5 minutes before serving. You can serve it whole or slice it as desired.
Notes
Duck Breast Availability
Duck breast is fairly readily available at large grocery stores and butchers.
Scoring Tips
Scoring the skin allows fat to render out for better crispiness. Avoid cutting into the flesh, as doing so may cause juices to escape and result in soggy skin. Keep all cuts in one piece, and if the duck has a thick layer of fat, consider making extra slashes for better fat rendering.
Weighing Down
Using a weight on the duck keeps the skin flat against the pan, preventing curling or rubbery patches. Avoid using a very heavy cast iron pan; any regular pan works best.
Cooking on Low Heat
Cooking on low heat allows for more fat to render out, resulting in crispier skin and less fat in the final dish. Do not rush this step to achieve the best texture.
Duck Doneness
Consider duck to be similar to steak; the rarer it is, the more tender and juicy the meat will be. Duck is not like chicken, which becomes rubbery when undercooked.
Storage of Leftovers
Leftovers can be stored in the refrigerator for 3 to 4 days.
Cook techniques
Scoring the Skin
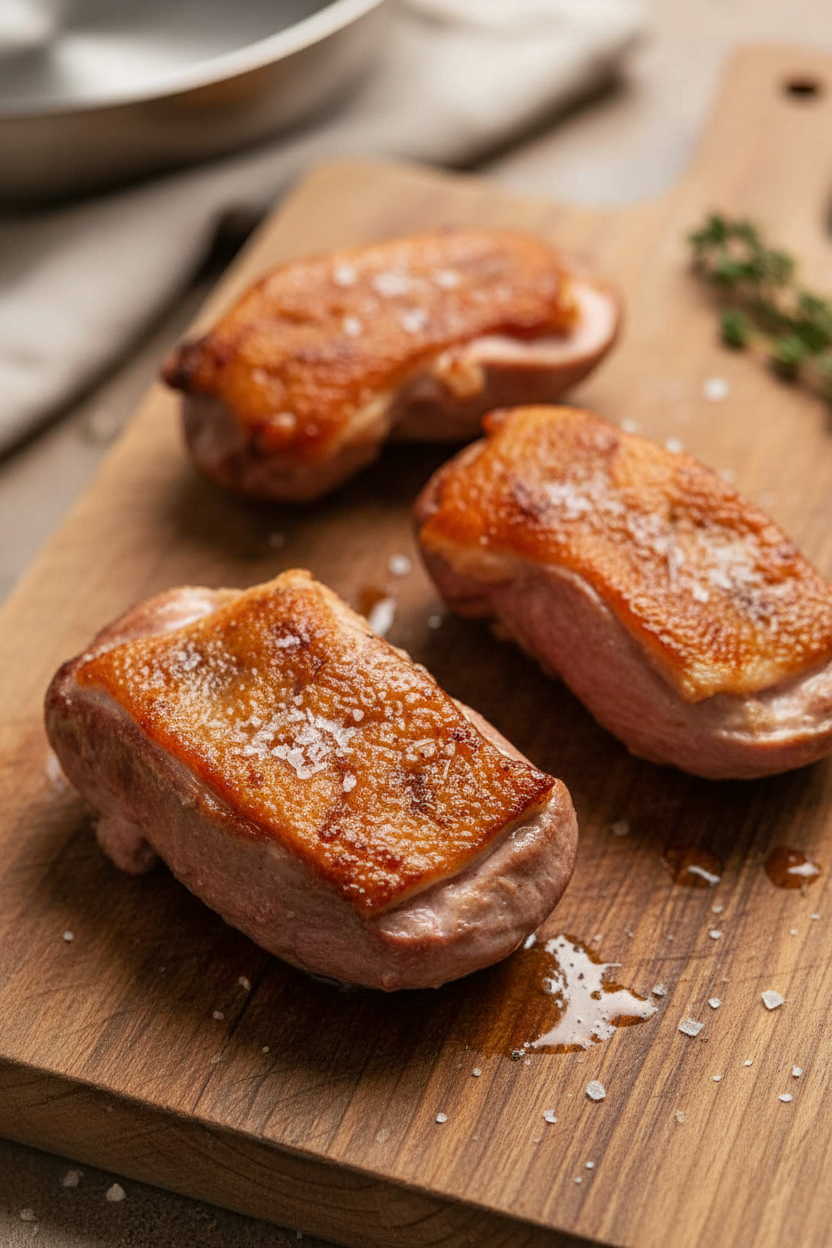
Scoring the duck skin helps render out excess fat, which leads to a crispy texture. Use a sharp knife to make 5 or 6 diagonal scores, ensuring not to pierce the flesh or cut all the way to the edge.
Cold Pan Cooking
Start cooking the duck breast skin-side down in a cold, oven-proof pan without any oil. Place another pan on top to lightly weigh it down, which helps keep the skin flat and prevents curling.
Low Heat Rendering
Cook the duck on medium low heat for 10 minutes to allow the fat to render slowly. This technique results in a crispy skin while reducing the fat content in the final dish.
Oven Finishing
After cooking the skin side, finish the duck in the oven to reach the desired doneness. This method helps ensure even cooking without burning the skin.
Resting the Duck
Once cooked, let the duck breast rest for 5 minutes before serving. This allows the juices to redistribute, resulting in a more tender and flavorful meat.
FAQ
Can I use a different type of duck breast?
Yes, different types of duck can be used, but the cooking times may vary based on the size and fat content.
What if I don’t have an oven-proof pan?
If you don’t have an oven-proof pan, you can transfer the duck to a baking dish after searing it skin-side down.
How do I know when the duck is cooked to the right doneness?
Use a meat thermometer to check the internal temperature, which should be 54°C/130°F for medium rare and 60°C/140°F for medium.
Can I cut into the duck immediately after cooking?
It’s best to let the duck rest for 5 minutes before cutting to ensure juiciness.
What should I do with leftovers?
Leftovers can be stored in the fridge for 3 to 4 days. Reheat gently to maintain texture and flavor.
Conclusion
Crispy skin duck is a delightful dish that combines the rich flavors of duck with a perfectly rendered crispy skin. By following the proper techniques for scoring, cooking, and resting the duck, you can achieve a satisfying and juicy result. This dish not only impresses with its presentation but also offers a gourmet dining experience at home.
More recipes suggestions and combination
Duck a l’Orange
A classic French dish that pairs crispy duck with a tangy orange sauce for a sweet and savory balance.
Duck Breast with Cherry Sauce
Combining the richness of duck with a tart cherry glaze can create a harmonious blend of flavors.
Asian Style Duck Rolls
Serve thinly sliced crispy duck in rice paper wraps with fresh vegetables and a hoisin dipping sauce.
Duck and Mushroom Risotto
Incorporate shredded duck into a creamy risotto with sautéed mushrooms for a comforting meal.
Duck Tacos with Pineapple Salsa
Use leftover crispy duck in tacos topped with a refreshing pineapple salsa for a fun twist.
Duck Salad with Pomegranate Seeds
Slice the duck breast and toss it in a salad with mixed greens, nuts, and pomegranate for a vibrant dish.
Duck Confit Pasta
Mix shredded duck confit with fresh pasta, garlic, and seasonal vegetables for a hearty dinner.
Spicy Duck Curry
Create a flavorful curry with crispy duck, coconut milk, and a mix of spices for a comforting meal.