Introduction
This delightful cake recipe combines rich cocoa flavor, light texture, and smooth chocolate buttercream, making it a perfect treat for any occasion. With easy-to-follow instructions and straightforward ingredients, this cake is bound to impress your friends and family. Whether you’re celebrating a birthday, hosting a gathering, or simply indulging your sweet tooth, this cake is sure to become a favorite.
Detailed Ingredients with measures
Cups
▢ 1 cup plain flour / all-purpose flour
▢ 1/3 cup cocoa, sifted (unsweetened, not Dutch processed)
▢ 3/4 tsp baking powder
▢ 3/4 tsp baking soda / bi-carb
▢ 1 cup white sugar
▢ 1/2 tsp cooking salt / kosher salt
▢ 1 large egg, at room temperature
▢ 1/2 cup milk, preferably full fat, at room temperature
▢ 1/4 cup plain oil, like vegetable, canola, or peanut oil
▢ 1 tsp vanilla extract
▢ 1/2 cup boiling water
▢ 1 tsp instant coffee powder, optional
Chocolate Buttercream
▢ 250g / 1 cup unsalted butter, softened
▢ 4 cups soft icing sugar / powdered sugar, sifted
▢ 1/2 cup cocoa powder, unsweetened
▢ 1 tsp vanilla extract
▢ 5 tbsp milk, preferably full fat
Decorations
▢ Dark chocolate, finely shaved using a knife (white chocolate is also pretty)
▢ Raspberries, rosemary sprigs
Prep Time
Preparation time for this delicious cake is around 20 minutes, allowing you to gather ingredients and prepare your baking pan efficiently.
Cook Time, Total Time, Yield
Cook time is approximately 13 minutes, while the total time required for preparation and cooling is about 1 hour and 30 minutes. This recipe yields a delightful cake that can be served in various forms, whether in rounds, rectangles, or even mini cakes, making it versatile for any dessert table.
Detailed Directions and Instructions
Preheat Oven and Prepare Baking Pan
Preheat the oven to 180°C / 350°F (160°C fan-forced). Butter a 40 x 28.5 x 2.5cm tray (15.8 x 11.3 x 1″ – US standard jelly roll pan) and then line it with baking paper (parchment paper).
Prepare Cake Layers
Sift the plain flour, cocoa powder, baking powder, and baking soda into a mixing bowl. Add the white sugar and cooking salt, then whisk the ingredients together to ensure they are combined evenly.
Add Wet Ingredients
Incorporate the wet ingredients by adding the large egg, milk, plain oil, and vanilla extract to the dry mixture. Whisk until all ingredients are combined. Dissolve the instant coffee powder (if using) in the boiling water, then gradually add this to the batter, whisking continuously. The batter will be very thin.
Bake the Cake
Pour the cake batter into the prepared baking pan and bake for 13 minutes. After baking, allow the cake to cool in the pan for 10 minutes. Use the paper overhang to lift the cake onto a wire rack and let it cool for an additional 30 minutes. Once cooled, place it in the refrigerator uncovered for at least 1 hour before cutting.
Cut Cake Rounds
Cover the sticky surface of the cooled cake with baking paper. Carefully flip the cake upside down onto a cutting board so that the sticky side is down. Remove the baking paper from the base and press out 21 rounds using a 6cm / 2.4″ cutter (or any desired size/shape).
Pipe Frosting onto Cake Layers
Place a piece of cake on a small piece of baking paper, using a dab of frosting underneath to prevent it from sliding. Pipe coils of frosting onto each layer, using 3 rounds for each cake. Add frosting around the sides and on top. A cake turntable can be helpful for smoothing the frosting.
Smooth the Frosting
Use a small offset spatula or knife to carefully smooth the frosting. Avoid touching the cake itself as this can dislodge crumbs into the frosting.
Add Decorations
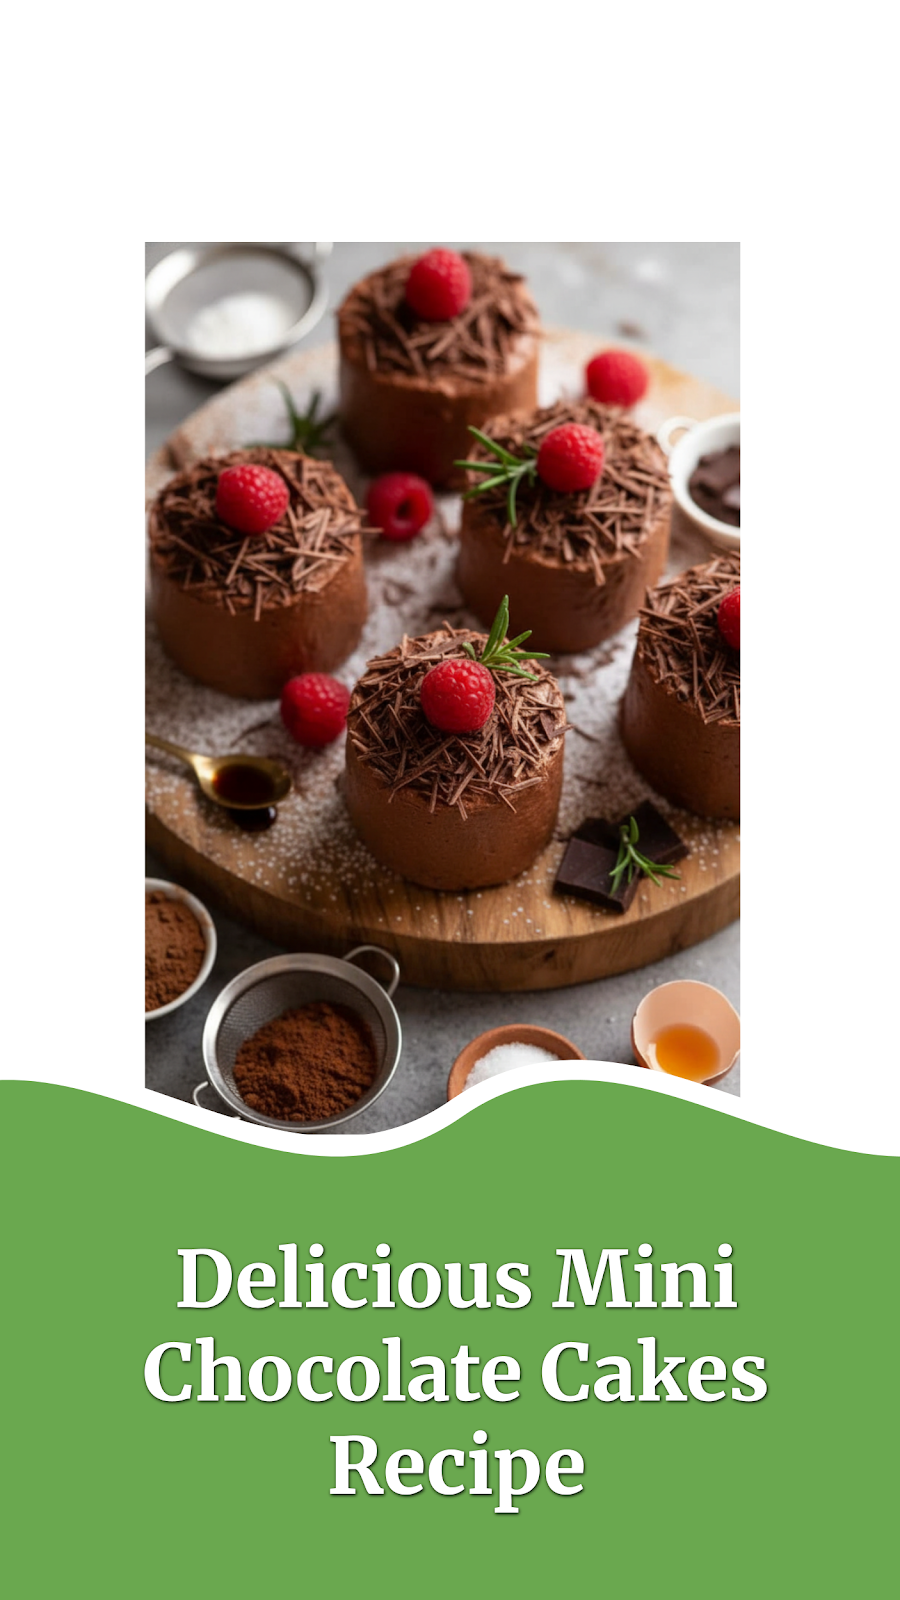
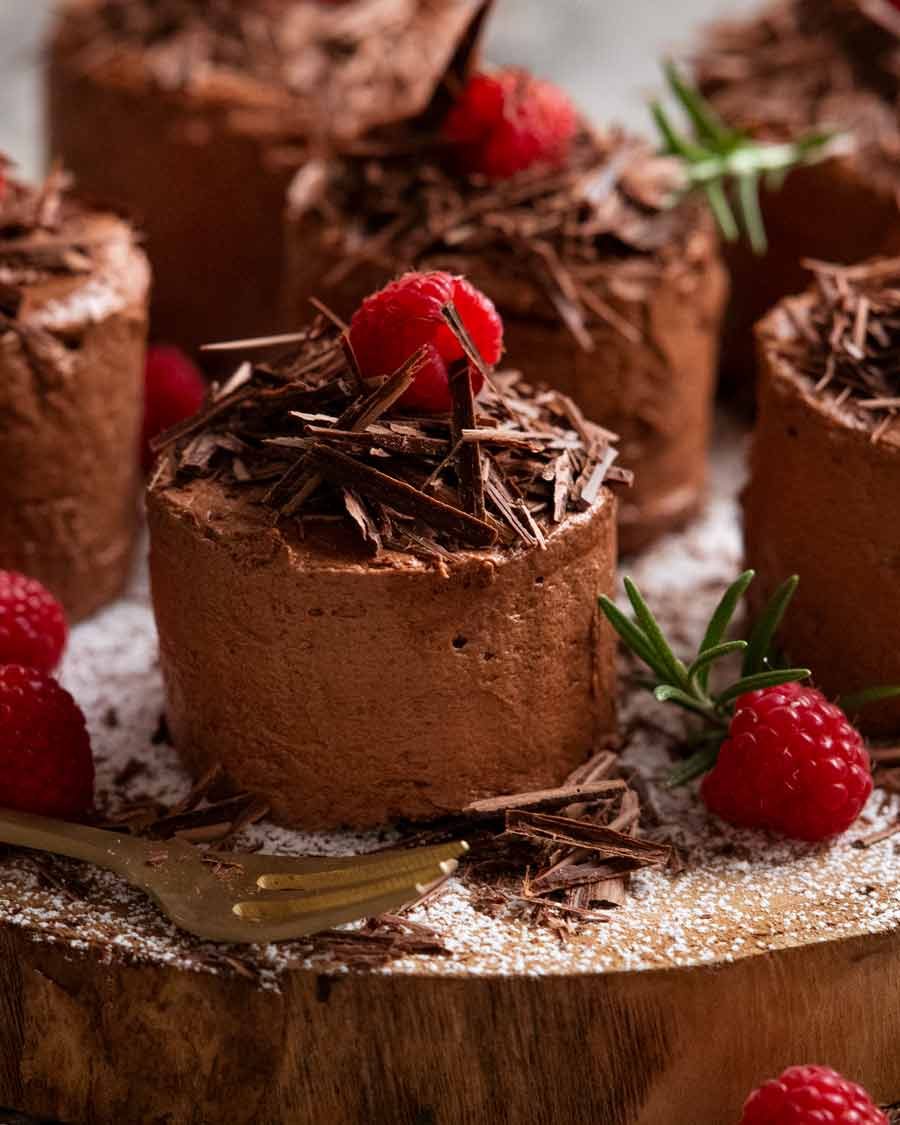
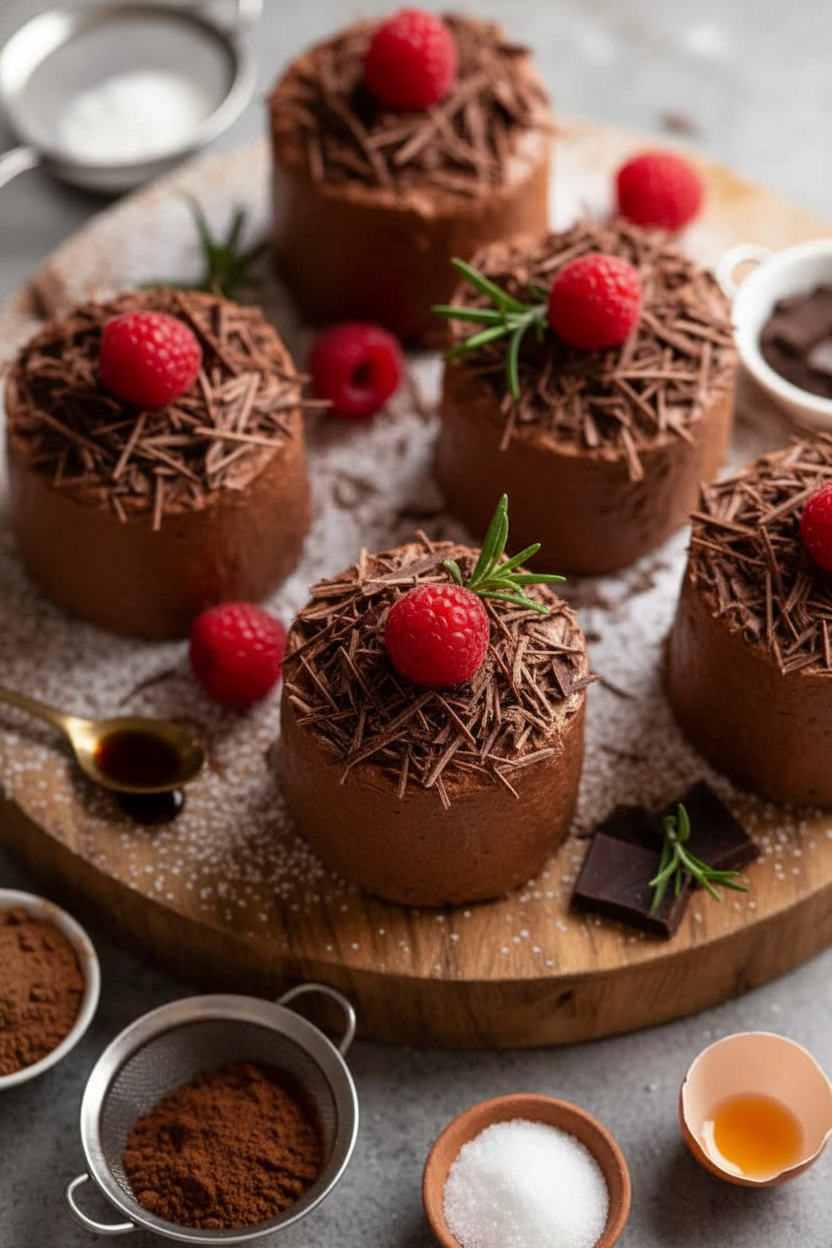
Decorate with piles of shaved dark chocolate, and optionally use raspberries and rosemary sprigs for additional decoration.
Prepare Chocolate Buttercream
In a mixing bowl, beat the unsalted butter on high for 3 minutes until it becomes soft and fluffy. Gradually add the sifted icing sugar in three batches, starting on low speed to avoid a mess, and then increase speed once combined.
Incorporate Cocoa and Milk
After all the icing sugar is mixed in, add the unsweetened cocoa powder, milk, and vanilla extract. Begin mixing on low speed, gradually increasing until fully incorporated. Beat on high for an additional 3 minutes to create a fluffy texture.
Transfer to Piping Bags
Transfer the chocolate buttercream to a piping bag for easier application. A ziplock bag can also be used if a piping bag is unavailable.
Notes
Cocoa Powder
This recipe specifically calls for ordinary unsweetened cocoa powder. Dutch processed cocoa can be used for a more intense flavor and color, although it is not necessary.
Baking Soda Substitution
If you don’t have baking soda, 2 ¼ teaspoons of extra baking powder can be substituted, as baking soda serves as an additional leavening agent.
Optional Coffee Enhancement
Incorporating coffee powder into the chocolate enhances its flavor without adding a coffee taste.
Flipping the Cake
Flipping the cake upside down helps in cutting neat rounds, as the sticky surface can interfere with clean cuts.
Alternative Cake Shapes
For easier assembly and less waste, consider cutting the cake into three equal rectangles and stacking them to create a large 3-layer cake. Refrigerate for 1 hour to allow the frosting to set before cutting into squares or rectangles.
Storage Instructions
If storing the cooked cakes overnight, ensure they are completely cool, cover with baking paper, then cling wrap. Refrigerate until needed. The cake can stay fresh for up to 5 days in the refrigerator and can also be frozen for up to 3 months. Assembled cakes will retain freshness in the fridge for 5 days.
Cook techniques
Whisking Ingredients
Whisk dry ingredients thoroughly to ensure even distribution of baking powder, baking soda, cocoa powder, and salt. When incorporating wet ingredients, whisk until just combined to avoid overmixing.
Sifting Cocoa and Icing Sugar
Sift cocoa powder and icing sugar before adding to the mixture to eliminate lumps and ensure a smooth texture in both the cake and frosting.
Mixing Techniques
When mixing wet and dry ingredients, add them gradually to maintain a consistent batter texture. Use a whisk for wet ingredients and a spatula or wooden spoon for dry to ensure thorough blending without overworking the gluten.
Baking the Cake
Monitor baking time closely; the cake should be baked until a toothpick inserted in the center comes out clean. Allow the cake to cool in the pan for the specified time to set the structure before transferring it to a cooling rack.
Assembling Cake Layers
Use a sharp knife or round cutter to cut out even rounds from the cooled cake. A flipping technique helps achieve clean edges, preventing stickiness when cutting.
Piping Frosting
Transfer chocolate buttercream to a piping bag for easy application. Practice piping coils or swirls for a decorative finish, ensuring to create even layers for a professional look.
Smoothing Frosting
Use an offset spatula to smooth the frosting on the cake. Avoid touching the cake directly to keep crumbs from mixing into the frosting, leading to a clean aesthetic.
Decoration Techniques
Garnish with decorative elements like chocolate shavings, fresh raspberries, or herb sprigs for an appealing presentation. Strategically place decorations to enhance visual appeal and flavor contrast.
Storage Guidelines
Store cooled cakes in the refrigerator covered with paper and cling wrap if left overnight. Assemble cakes can remain fresh in the fridge for up to five days, while frozen cakes can last for three months.
FAQ
Can I use Dutch-processed cocoa instead of regular cocoa?
Yes, you can use Dutch-processed cocoa, but it may alter the flavor and color slightly compared to the recipe’s specification.
What happens if I skip the instant coffee powder?
Skipping instant coffee will not affect the structure of the cake, but it may slightly diminish the richness of the chocolate flavor.
Is there a substitute for unsalted butter in the frosting?
You can use margarine or a dairy-free butter alternative, but this may affect the flavor and texture of the frosting.
How do I know when the cake is done baking?
The cake is done when a toothpick inserted into the center comes out clean or with a few moist crumbs. It should bounce back lightly when touched.
Can I freeze the assembled cake for later use?
Yes, you can freeze the assembled cake, but be sure to wrap it well to prevent freezer burn and maintain quality.
Conclusion
The rich chocolate cake with chocolate buttercream offers a delightful treat that is perfect for any occasion. The combination of simple ingredients results in a moist and flavorful cake that can be easily assembled and decorated to amaze your guests. Enjoy the indulgence and the joy of baking!
More recipes suggestions and combination
Chocolate Mint Cake
Add mint extract to the batter and chocolate buttercream for a refreshing twist on the classic chocolate flavor.
Peanut Butter Chocolate Cake
Incorporate peanut butter into the cake batter and use a peanut butter frosting instead of chocolate buttercream for a nutty variation.
Mocha Chocolate Cake
Enhance the chocolate cake by adding a tablespoon of instant coffee and mixing coffee into the buttercream for a mocha experience.
Chocolate Raspberry Cake
Layer fresh raspberries between the cake rounds and use raspberry purée in the buttercream for a fruity complement to the chocolate.
Caramel Chocolate Cake
Drizzle caramel sauce between cake layers and top with a sprinkle of sea salt for a sweet and salty flavor profile.
Spiced Chocolate Cake
Add spices such as cinnamon or nutmeg to the cake batter for a warm, comforting twist on the traditional chocolate cake.
Lemon Chocolate Cake
Incorporate lemon zest into the batter and use lemon-infused buttercream to create a bright, citrusy contrast to the rich chocolate.